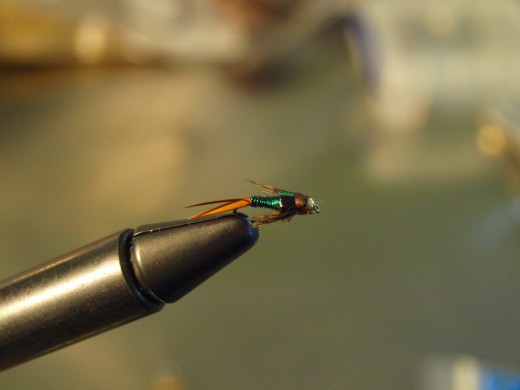
Tying a Copper John Nymph Fly

Materials Required
Before we tie our fly, lets have a look at the materials needed to make the copper john.
Hook - size 10-18 standard nymph hook. I like to use a 2x long standard nymph hook when adding a bead head.
Weight - .20 Lead wire
Tail - Brown goose biots
Body - Small copper wire
Thorax - Peacock herl
Legs - Indian hen back feather fibers. You could also make due with pheasant tail fibers
Wing case - Flashabou and thin skin
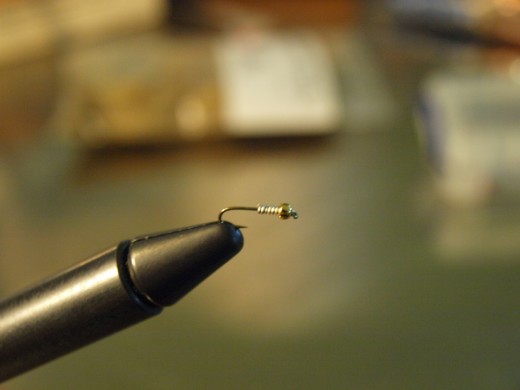
1. Place bead on hook and make a few wraps of lead wire behind the bead to hold it in place.
2. Start thread on the hook and make a thread base over the lead wraps to secure them in place. Wrap back to the bend of the hook and make a small ball of thread to help split the biots. Tie in your biots wrapping just ahead of the thread ball.
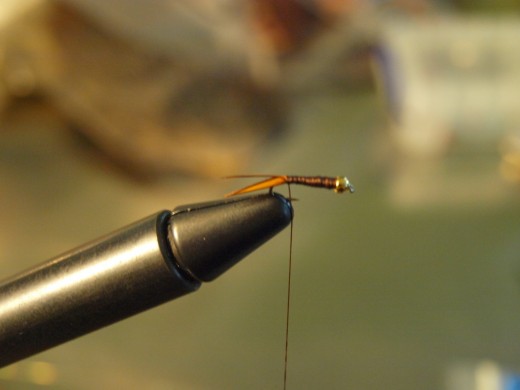
3. Make sure to taper your thread base from the thorax back to the biot tail. Tie in your wire at the tail and advance your thread to the middle of the hook. Wrap your wire to the middle of the hook and tie it off. Trim your wire.
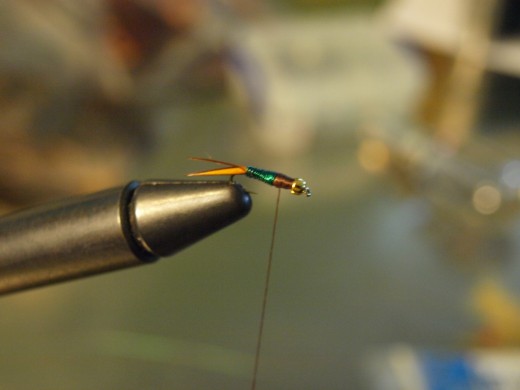
4. Cut a piece of flashabou about 2" long. Fold it in half and tie it onto the hook at the end of the wire body. Cut a strip of thin skin about the same width as the hook gap. Remove the backing from the thin skin and tie it in with the flashabou. Tie in a piece or two of peacock herl and wrap it to the bead of the hook. Tie off the herl and trim it.
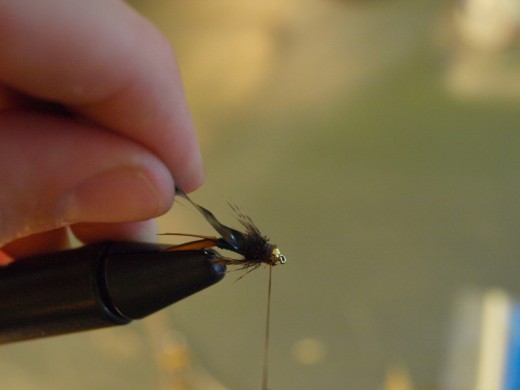
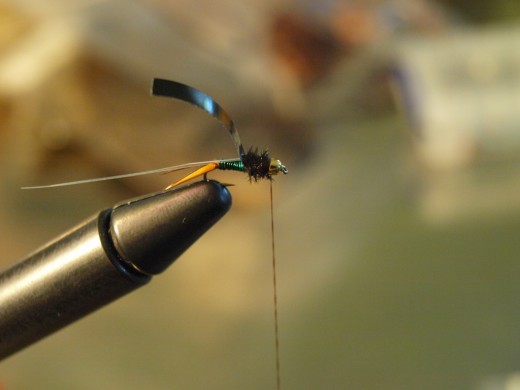
5. Strip some fibers from your indian hen feather and tie them on each side of the bead head pointing back. The length should be about half the length of the fly. Pull the flashabou and thin skin forward and tie them off behind the bead head. Trim off the extra. Whip finish to complete the fly. You can now put a layer of epoxy or clear nail polish over the wing case.


